Tutorial
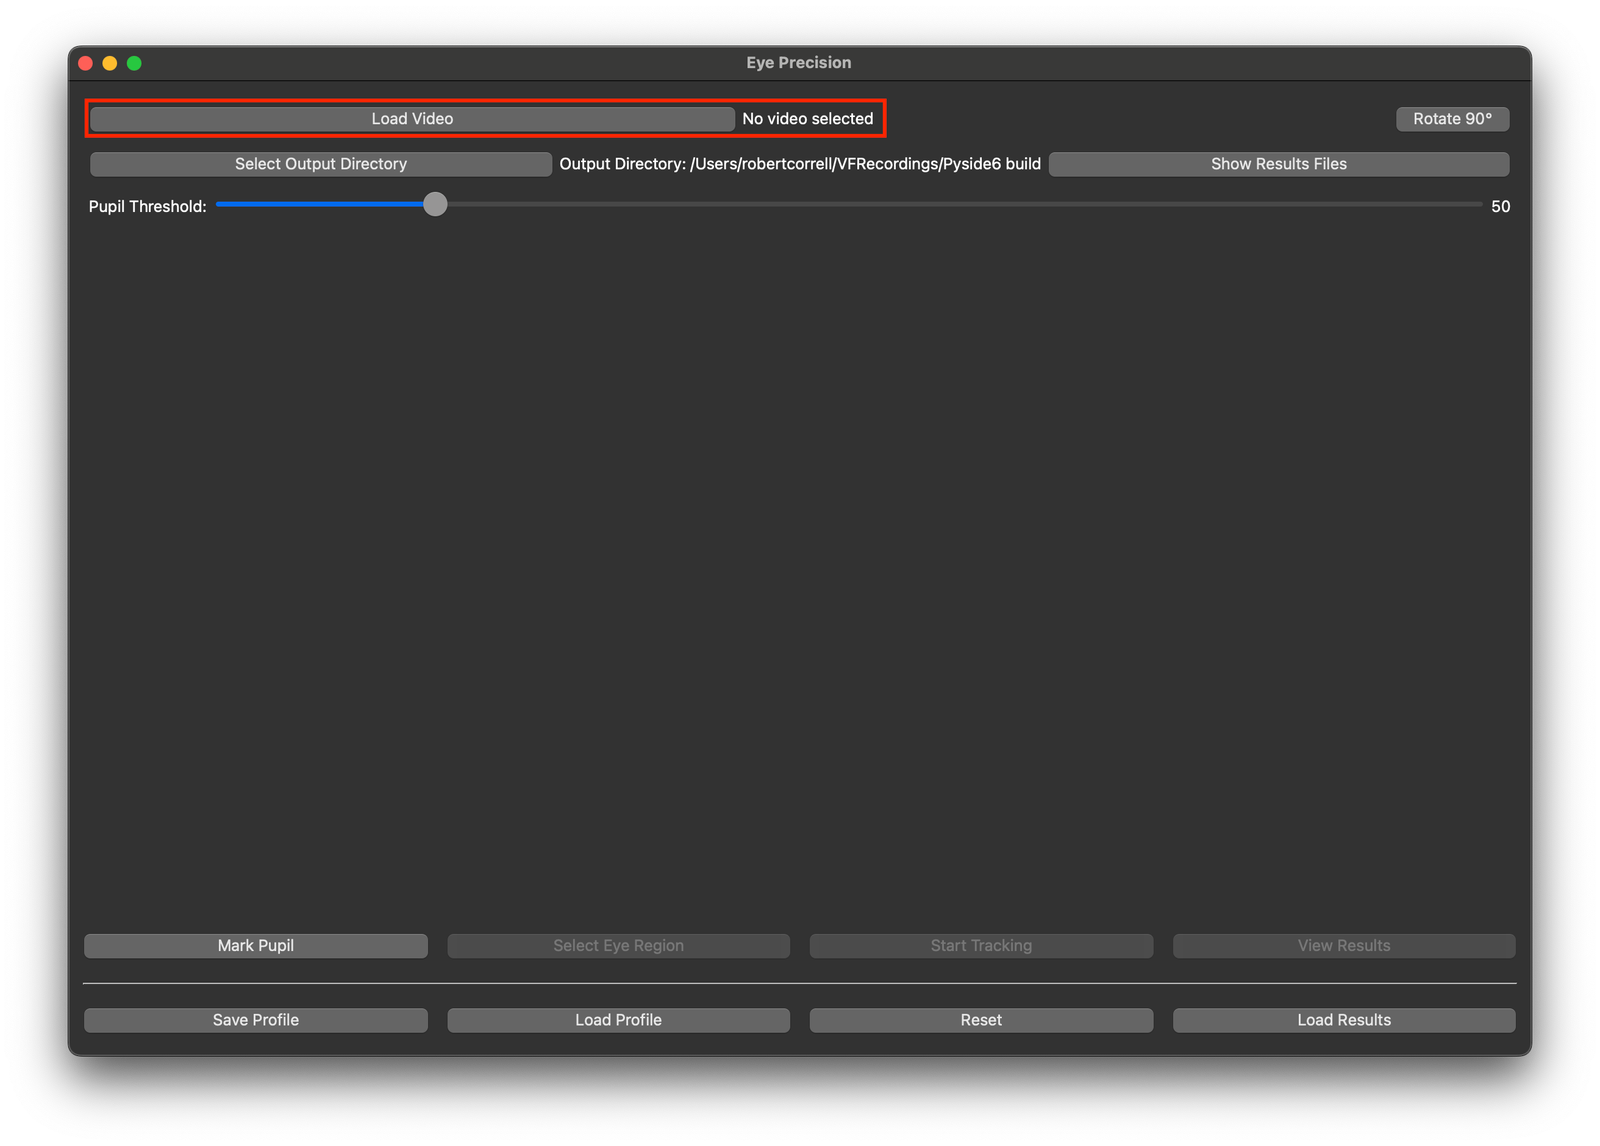
Choose a video for analysis with the "Load Video" button

There must be an output directory chosen for the created files to be saved to. (Set Automatically in Eye Precision Basic)
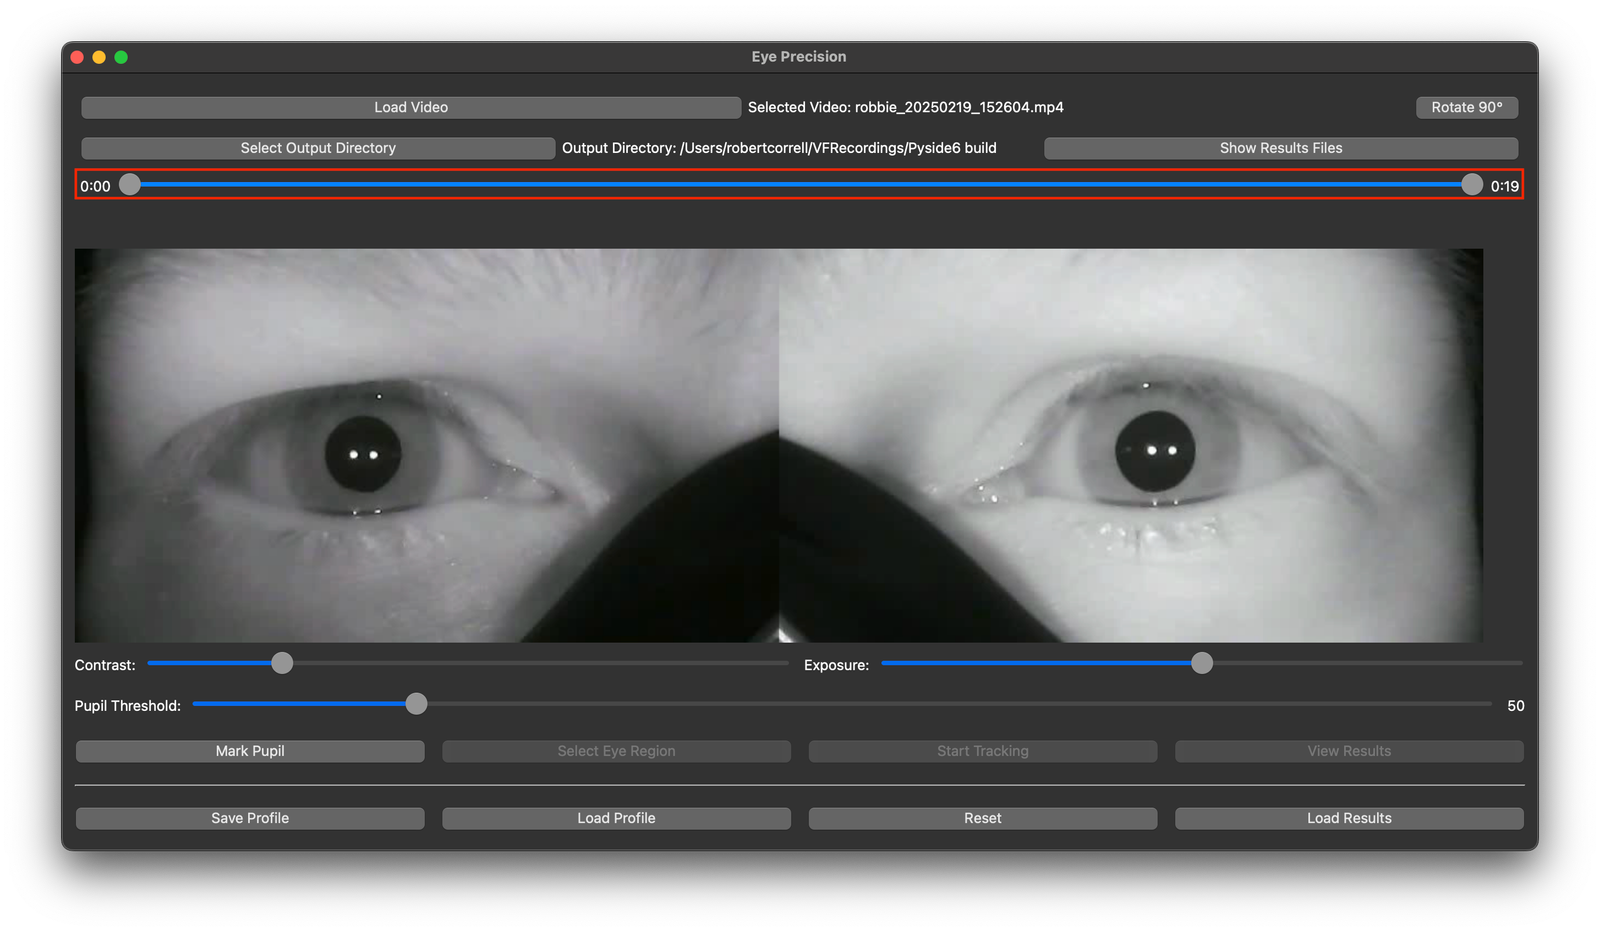
Choose a start and end time for the video with the slider. If no changes are made the entire video will be analysed.

Full Version only - The contrast and exposure of the video can be adjusted to allow for a more clear pupil. A large difference between pupil colour and colour of the surrounding area can provide better results.
All versions - Adjust the pupil threshold slider depending on the darkness of the pupil. A lower pupil threshold will detect colours closer to black, and can provide better results. If the pupil is lighter than the threshold, it may not be detected. This can take some experimentation.
These settings can be saved as a profile, to allow for quicker adjustment for similar of videos in the future.
Play video above
Click on the center of the pupil and drag to the edge of the pupil. This will draw a circle which should enclose the pupil. If you miss first time, don't worry, just draw it again. Click "Confirm Pupil" when you're happy with it.
Play video above
Full Version - Mark an area around the eye to specify where the eye tracking should be performed. This can be done with a circle or a rectangle, selected at the top of the window.
Eye Precision Basic - Select Small, Medium or Large to choose a rectangle size. Drag the rectangle to the area where the eye may be found during the tracking.
Video outside of this area will not be assessed for the presence of a pupil. This helps to exclude dark areas which may otherwise cause confusion to the analysis, but if the pupil moves out of this area it won't be tracked.

Once you're happy with your settings, choose "Start Tracking" and wait for the video to process. For a long video this can take several seconds.
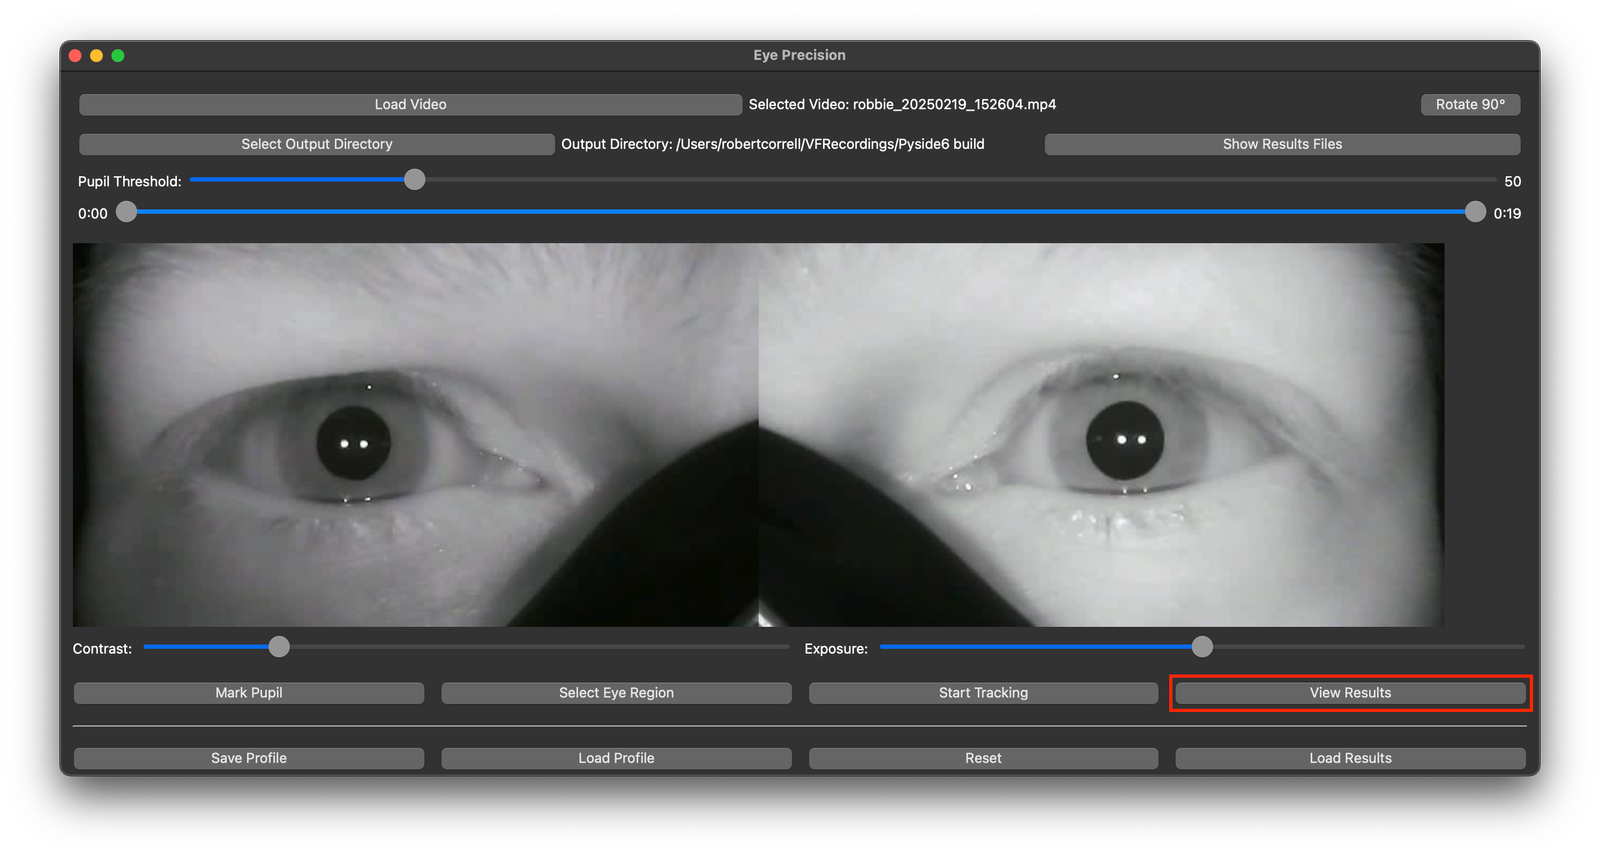
After processing, you can watch the processed video and view the graphs with the "View Results" button.
The output video, graphs and CSV file will be saved to a folder in the chosen output directory